
Physical Computing: Week 2 - Digital I/O, Analog Input & Sensor Change Detection
These labs were great to work through and I cannot wait to see how many of the techniques that I learned in each of them will be used for future projects. It was a mix of easy, fair, and “why is this not working?” Amusingly, some of the moments where I was stuck simply came from a simple electronic mistake, such as, having a ground wire in the wrong column (power). Nevertheless, I think it’s pretty fair to say that the Arduino Nano 33 IoT microcontroller has a smooth interface that is easily navigable and the IDE is fairly easy to use (I’m biased since it uses C++). Let’s take a look at what I was able to do:
Digital Input and Output
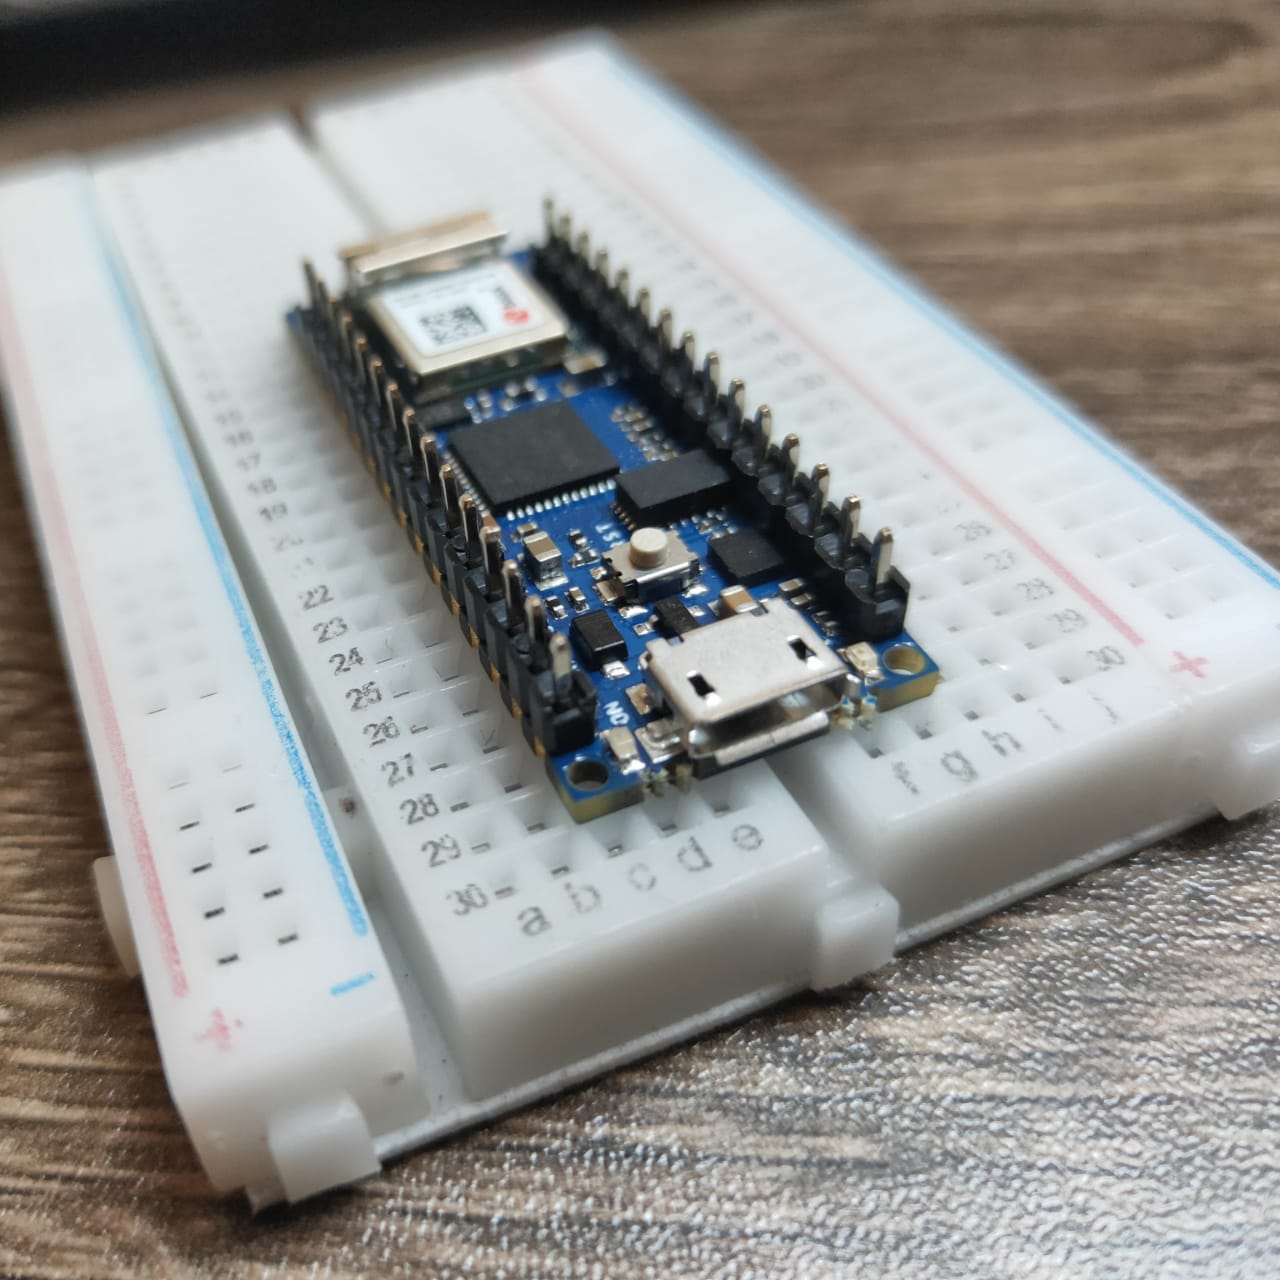
 For this lab, there were a few steps I had to go through to prior to initiating the microcontroller. First, I had to prep the breadboard by connecting power and ground on the breadboard to power and ground from the microcontroller. After this, I connected a pushbutton to digital input 2 on the Arduino to add a digital input that will be used to program later in the lab. Then, I connected a 220-ohm resistor and an LED in series to digital pin 3 and another to digital pin 4 of the Arduino for the digital output. Finally……the good part! Although the time of the installation process for packages needed for the Nano 33 IoT was mad long, I was finally able to get some cool results from the script I was able code. Check it out:
.png)
Analog Input
